Table of Contents
Let’s learn the 3D Printing process to design and make a rechargeable Lamp from scratch and recycled components, step-by-step Tutorial.
There are all Four Steps you Need to Follow to learn the 3D printing process to design and make a rechargeable lamp.
- Components details.
- 3D design of Enclosure for 3D printing using Autodesk Fusion 360.
- 3D Printing of Enclosure using PLA material on desktop FDM 3D printer.
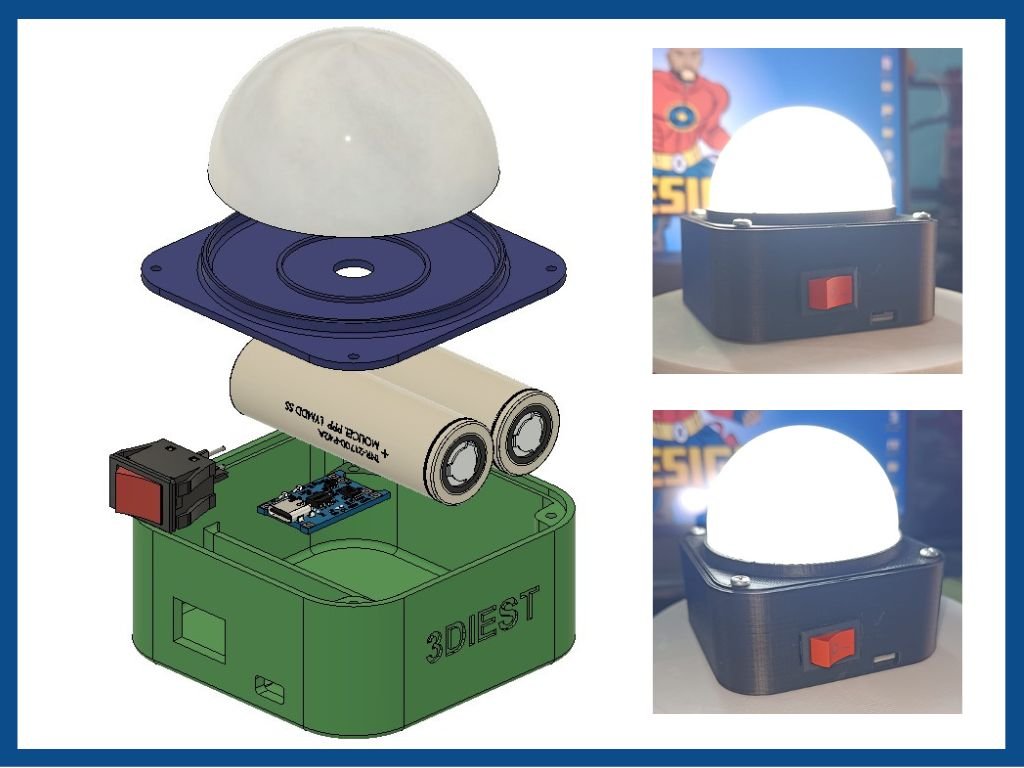
- Assembly of all components.
1. Components details :
Rechargeable Lithium-Ion Battery 18650 battery 3.7v.
You can purchase this battery online or Offline, otherwise this can also be recycles from old laptop battery packs.

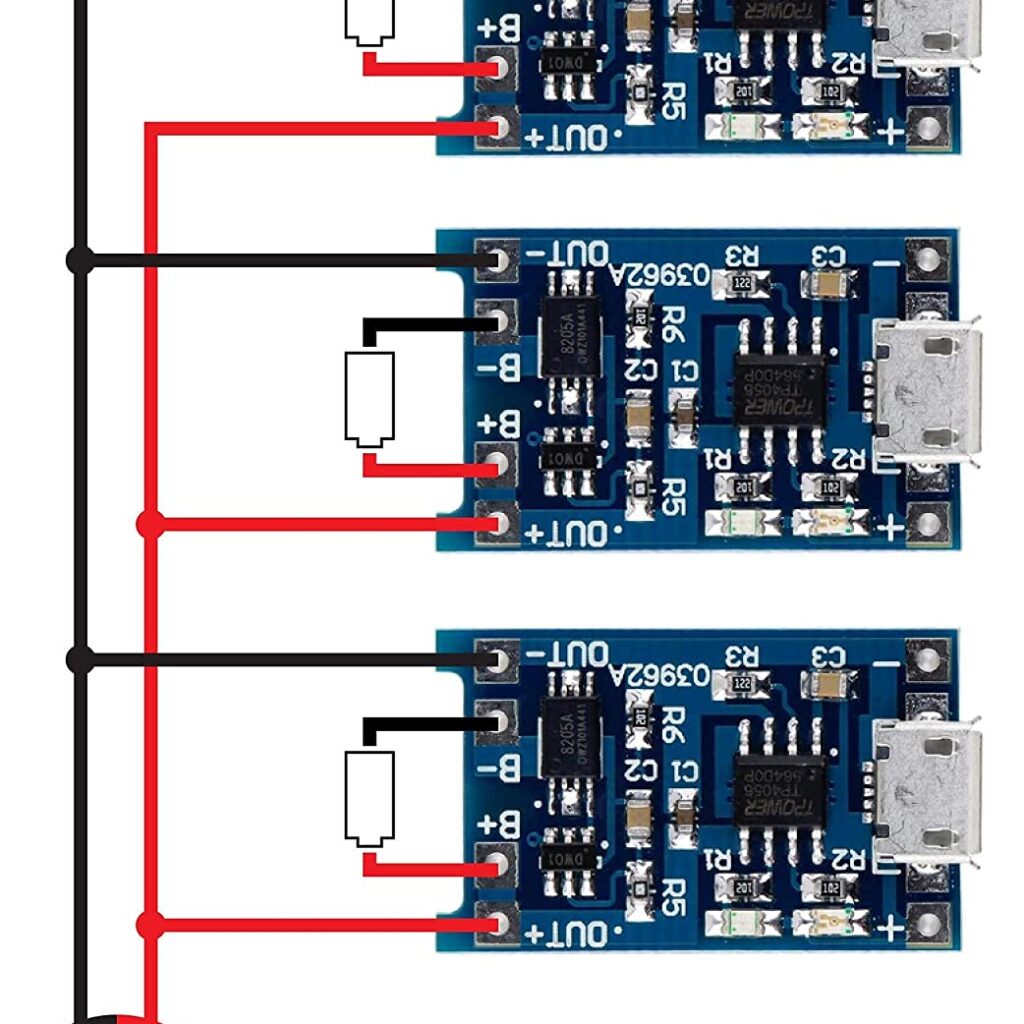
TP4056 Lithium-Ion Battery Charging Module Board Kit with Protection circuit.
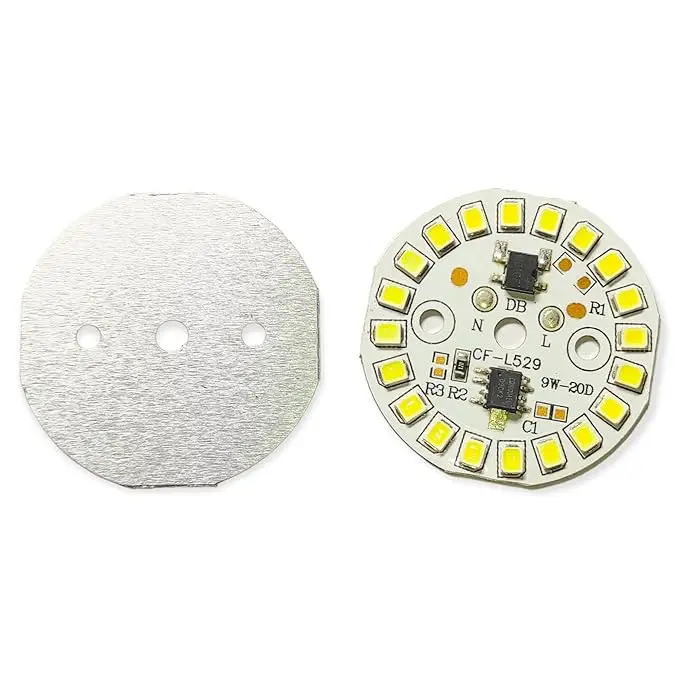
LED module (Recycled from Old Bulb).
This Module can also be purchased online or can be recycled from old damaged bulbs.
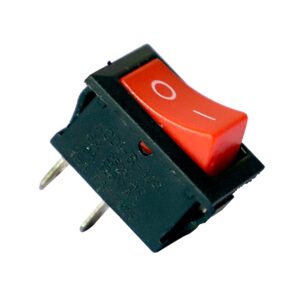
Rocker Switch One-way electrical 15 A.
3D Printed Enclosure ( PLA Material ).
Bulb Cover ( Recycled From Old Bulb)
You need to cut it from the bottom so it matches the size of the 3D-printed enclosure.

Additional Tools and accessories
- 4 nos Screws to fix the Top and bottom of the enclosure.
- Double-sided tape.
- Glue gun.
- Some Wires.
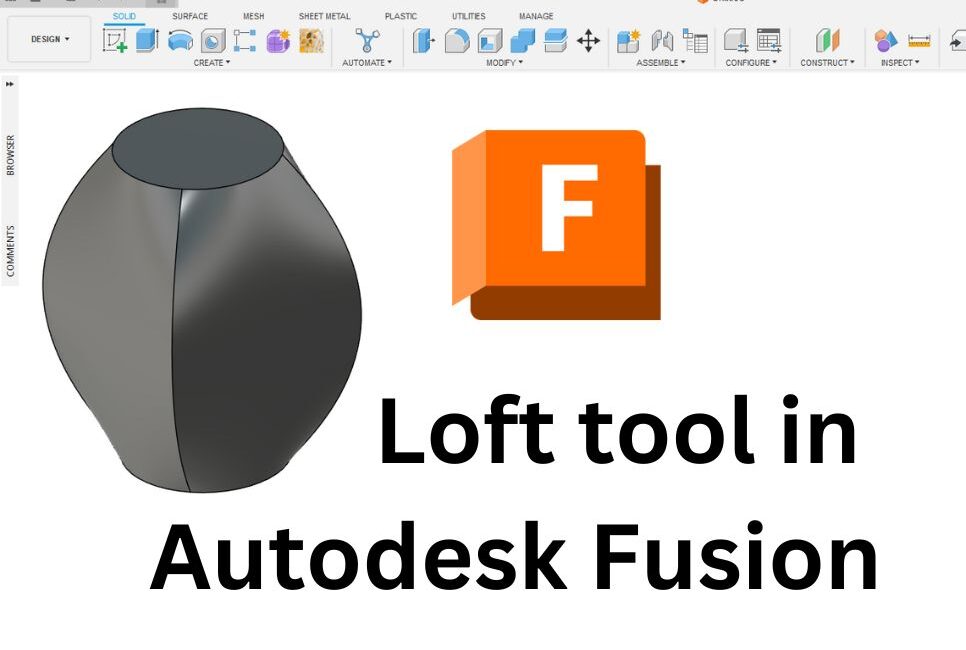
2. 3D Design / 3D Modeling of Enclosure for 3D printing using Autodesk Fusion 360:
For this 3D Printable rechargeable Lamp design, we used Autodesk Fusion 360.
Fusion 360 is a Cloud-based 3D Modeling and designing software provided by Autodesk, It’s easy to learn and use this software because of its very user-friendly interface & supporting communities.
If you want to learn Fusion 360 from scratch, we have lots of project-based 3D modeling tutorials live on our YouTube channel.
Also to Learn the complete process of this 3D modeling of this 3D Printable Lamp Enclosure using Fusion 360 check out this detailed video below.
If you have any questions or doubts about this 3D modeling or 3D designing process comment below or send us your query.
3. 3D Printing of Enclosure using PLA material on desktop FDM 3D printer:
These two-part designs can be 3D printed on any FDM 3D printer using PLA plastic material.
To download the 3D design files click on the below link.
3D printing common Setting to follow:
Nozzle Diameter: 0.4mm
Layer height: 0.3 mm
Infill percentage: 30%
Support Material / Percentage: Active / 15%
Material: PLA 1.75mm Dia
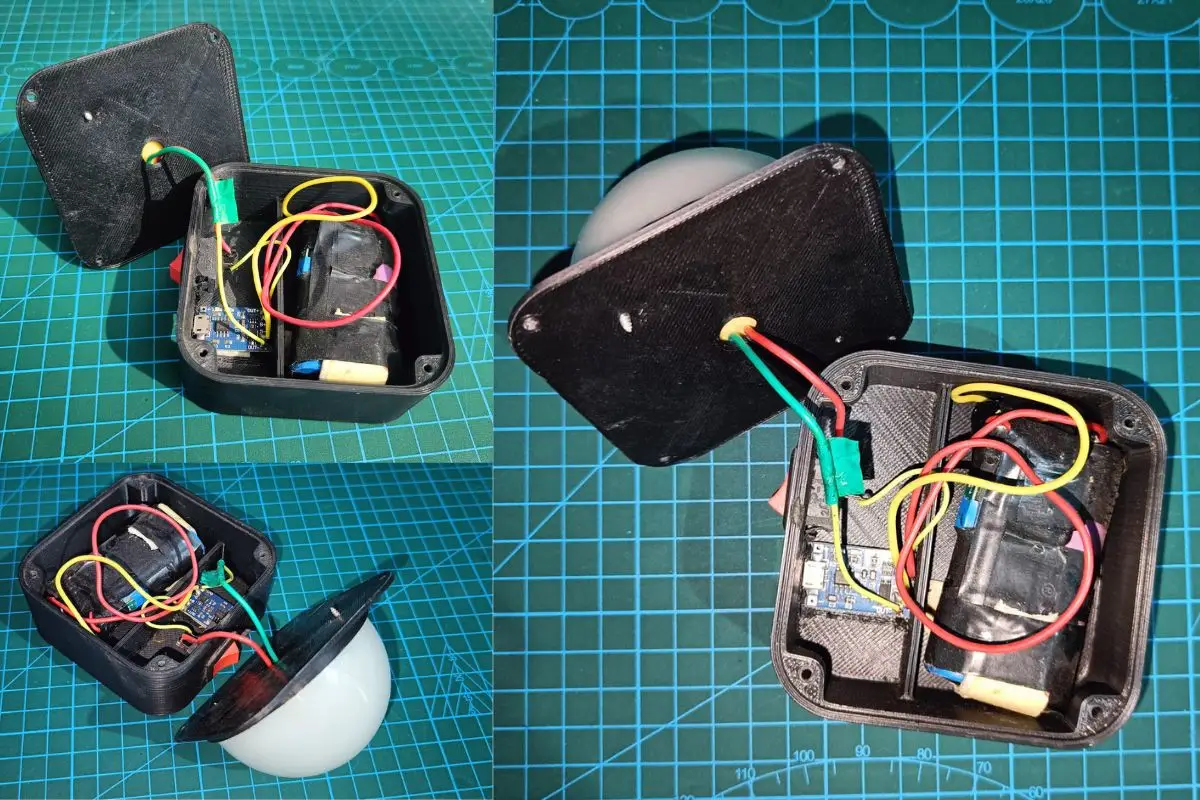
4. Final Assembly of all components:
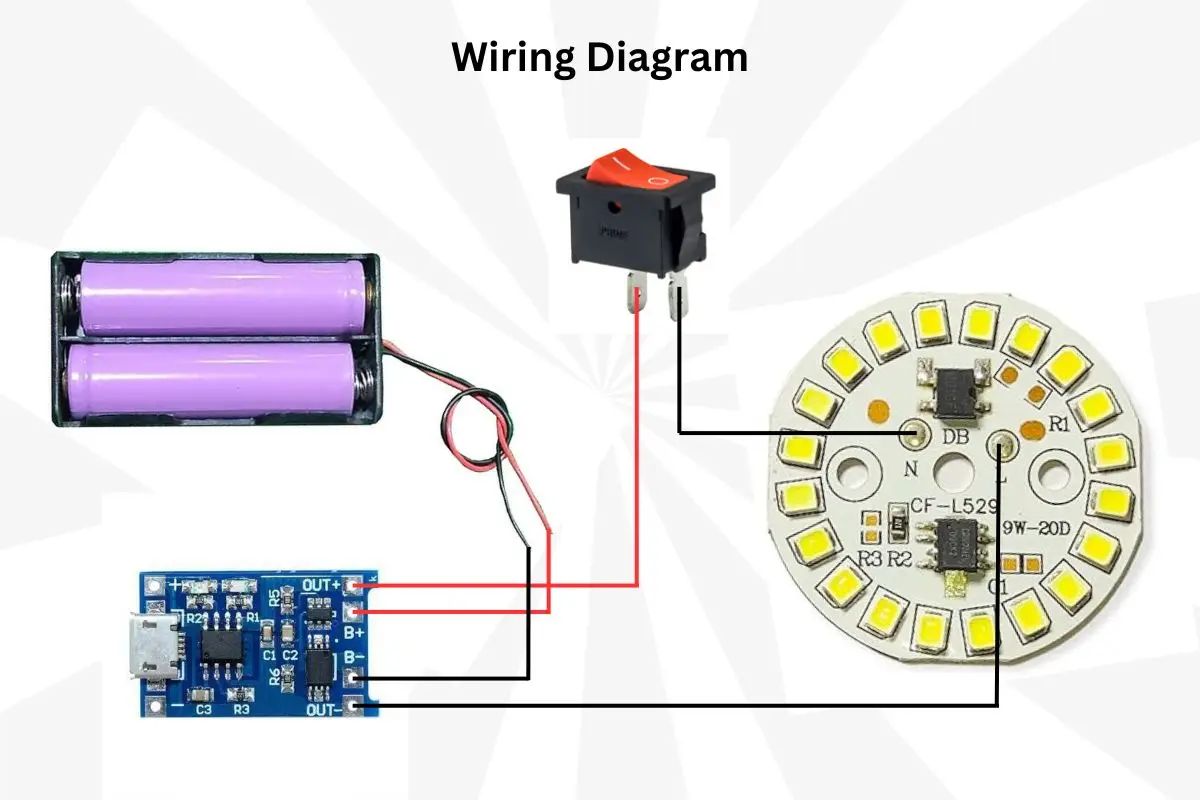
Once you have finished arranging all the components the final task is to assemble all the components as per the below connection diagram.
Congratulations your DIY 3D printable lamp is assembled and ready to use.
Now if you have any questions or suggestions regarding the project please comment below.