We molded a simple Silicone Rubber product design by pouring Liquid Silicone rubber inside 3D Printed Mold.
We are dividing the complete process into multiple steps.
Table of Contents
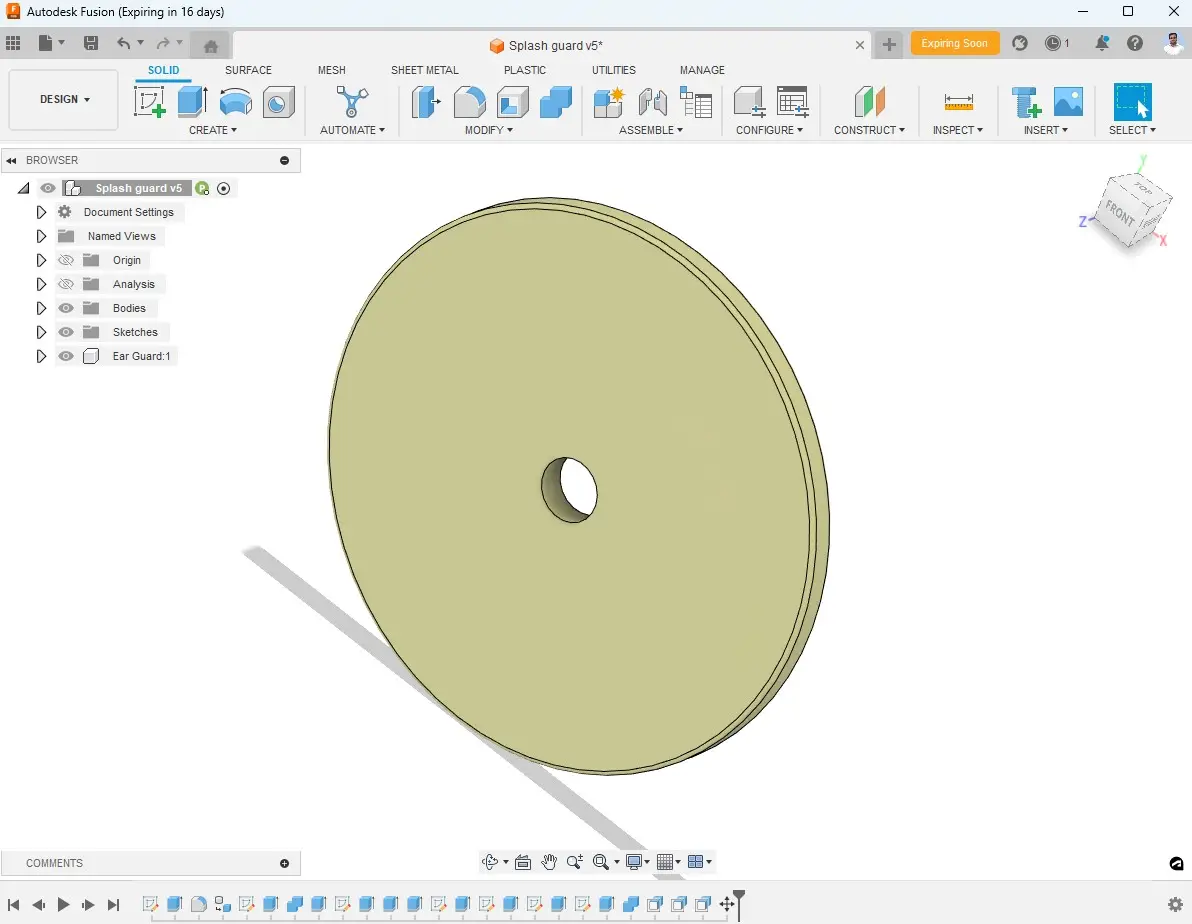
Step 1: Create a 3D model of the Product
Design a 3D model of the product using any 3D modeling software of your choice.
We used Autodesk Fusion for this 3D modeling process, the only thing that needs to be taken care of is design must be simple and the details must be 3D printable using desktop FDM 3D printing machines.
Also, make sure your design doesn’t contain any sharp edges, use the Fillet tool feature inside your 3D Modeling software to smoothen all sharp edges.
If you are interested to learn “Design for 3D printing using Autodesk Fusion ” check out this free course.
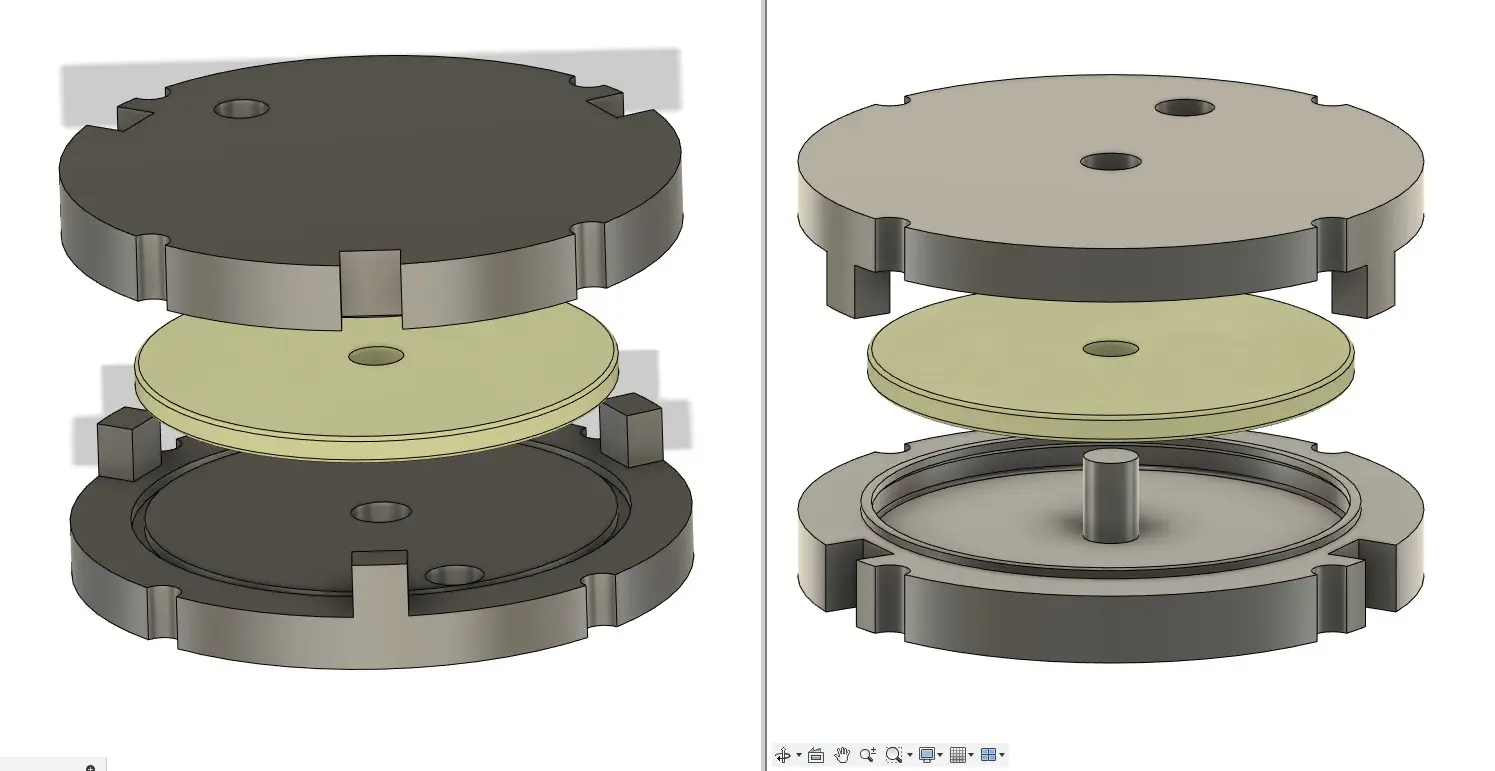
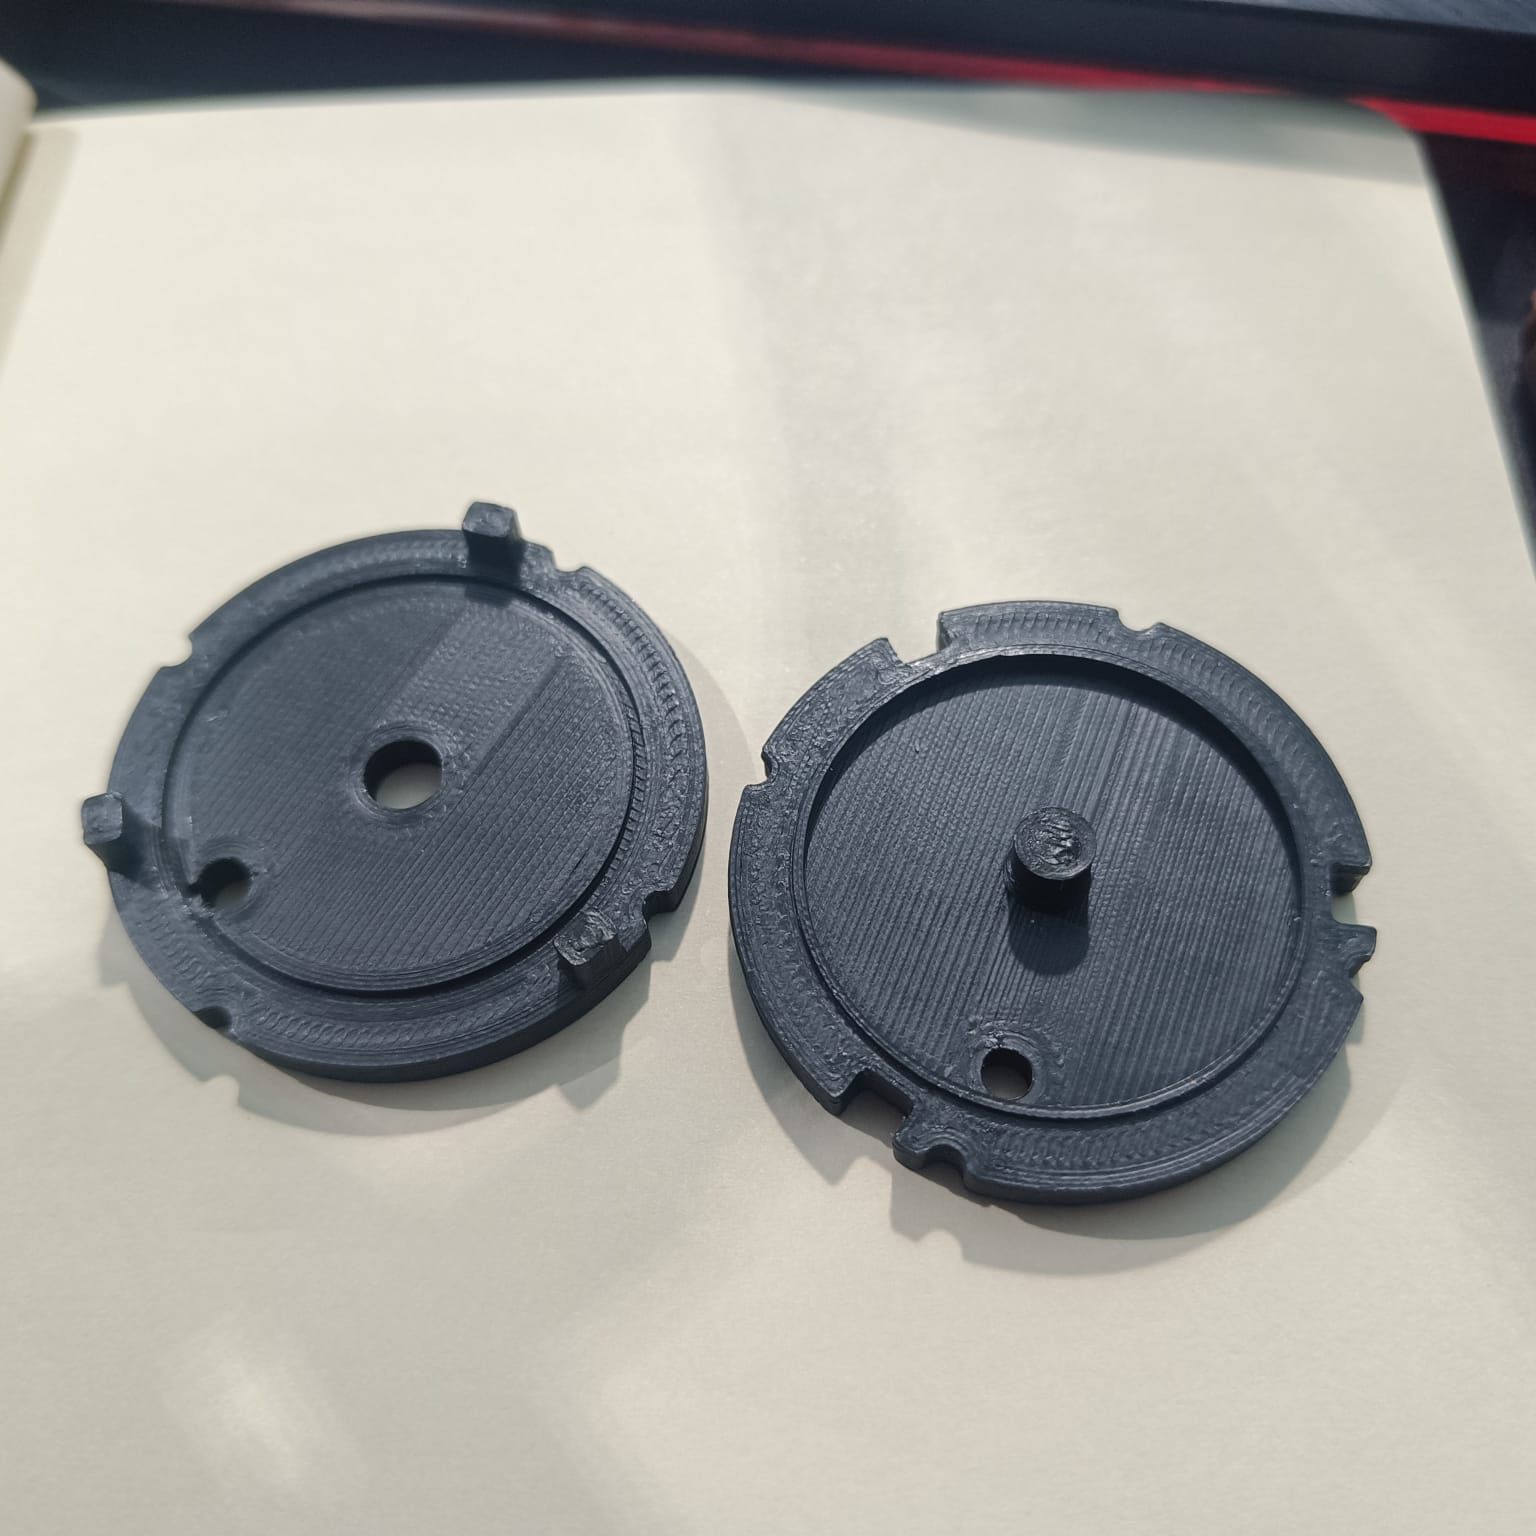
Step 2: Create a 3D Printable Mold design.
Now using that 3D Model you created in Step 1, Design a 3D printable Mold that will have an arrangement to align the pieces together with an opening to insert Silicon inside the mold.
Step 3: 3D Print your Mold design using a 3D printer.
3D printing of the Mold parts can be done on desktop 3D printing machines, if part accuracy is important, then you can use resin-based 3D printers.
But if you are flexible on accuracy you can also use FDM 3D printers.
For this project, here is the list of resources we used to 3D Print the Mold pieces.
3D printer : FLsun Super Racer Delta 3D printer
Material: Premium PLA filament, 1.75mm Diameter.
Print Settings :
- Layer Height: 0.2mm
- Nozzle size: 0.4mm
- Nozzle temperature: 205 °C
- Hed bed temperature: 60 °C (Optional)
- Infill: 35 %
- Wall thickness: 1.2mm
- Printing Speed 100 mm/s
Once the Mold pieces are 3D printed, place them together with the rubber band of any holding clamp, so that when you are pouring the liquid silicon mold pieces will not be displaced.
Step 4: Prepare Liquid Silicon Rubber.
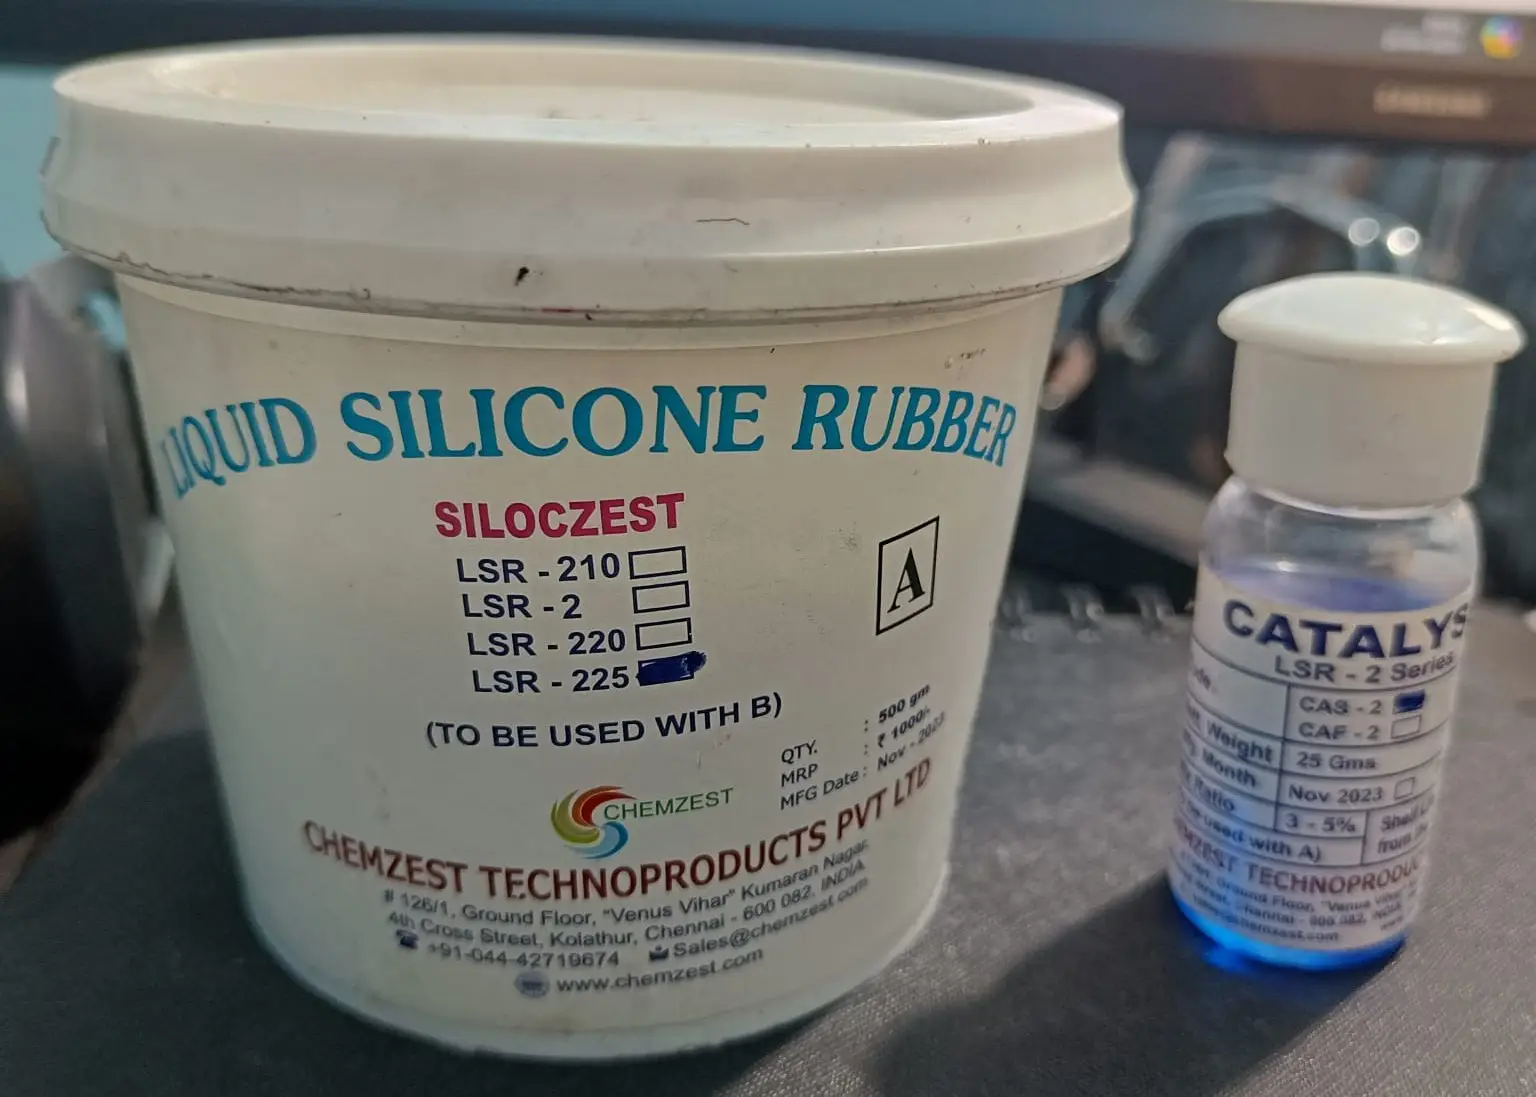
Liquid Silicon Rubbers are very easily available to buy online, You can order one, like a 500 gm package or larger based on your application and requirement.
Make sure you are ordering LSR-2 grade, because this grade is used for mold-making applications for sculpture, Resin art craft, Soap, candles, Artificial stone, Wood, POP, Clay, and Shoe mold.
You can also order some other grades based on your requirements, here is a detailed article to help you out with LSR Grades.
Here is the one that we used, Liquid silicon Rubber with a Catalyst.
Step 5: Prepare Liquid Silicon Rubber for pouring.
This step is very important, Preparing Liquid silicon Rubber for pouring into the mold.
Take a container with a smooth surface, and use something to measure the amount the Liquid silicon rubber you are going to use.
Mix Catalyst in the ratio of 1:10-15, For example, if you are taking 100 gm of LSR, Mix 10-15 gm of catalyst into it.
Mix them thoroughly and quickly, because the moment you will apply the catalyst and start mixing, Liquid silicon rubber will start solidifying.
Now once you finished mixing, pour the mixture into the Mold, you can use a Syringe, also shake the mold to remove any air trap inside the mold.
Step 6 (Final ): Removing the final product from the Mold.
After 30 Mins of pouring, you can slowly remove your mold pieces to take our final molded product.

During this complete process, you have to be patient because there is a probability that things will not go well as planned, so you need to try again and again until you master the process of molding silicon products using 3D-printed Molds.
This is also a Manufacturing method to design and create something from scratch.
Also if you have any questions related to this complete process, please comment below!