Table of Contents
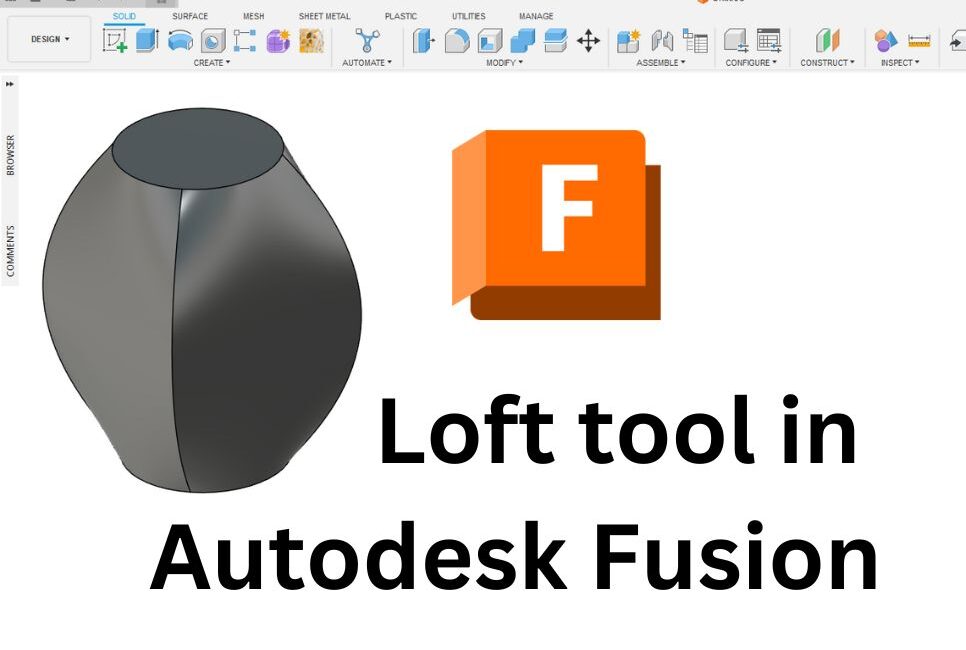
Use of Fusion 360 cloud-based CAD software from Autodesk to Give your ideas to reality.
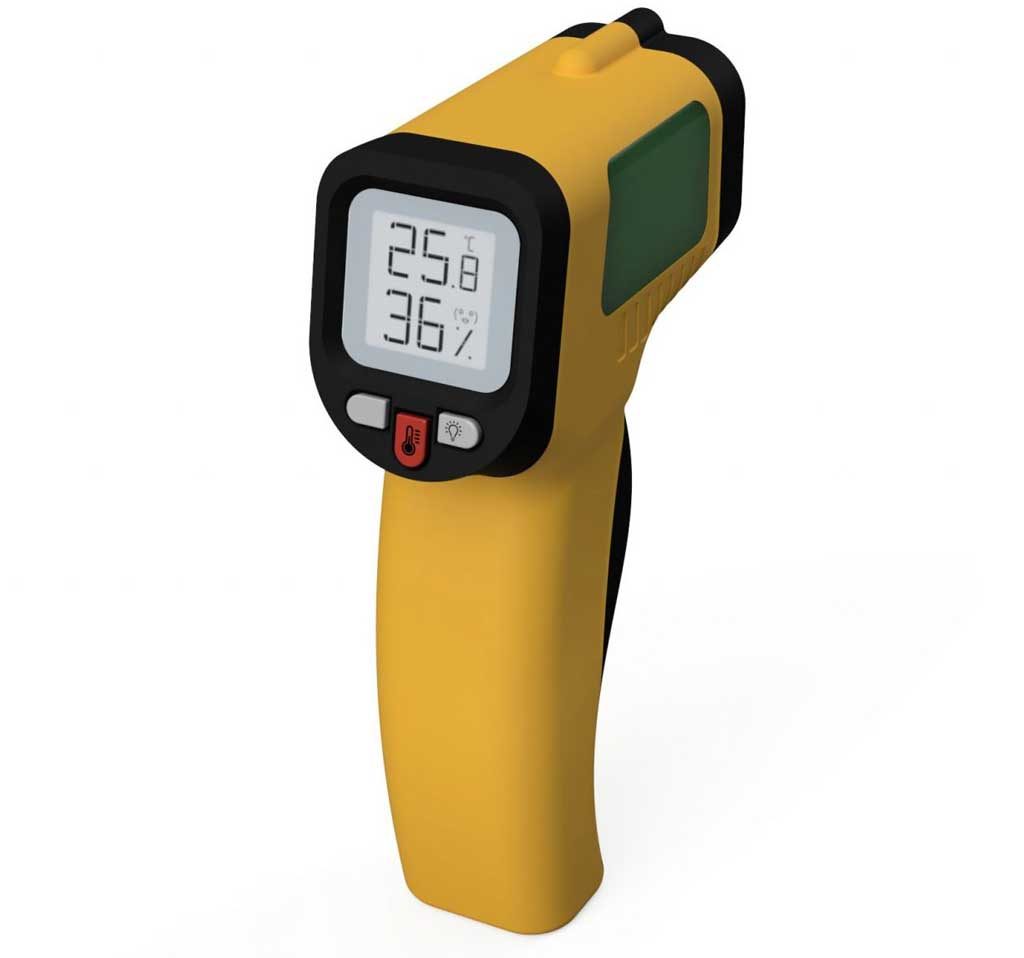
Recently I completed a 3D modeling project, a thermometer gun concept 3D model design using Autodesk Fusion 360.
Thermometer guns are used to detect the infected COVID-19/coronavirus suspects.
I had used software called Autodesk Fusion 360.
It is a cloud-based 3D modeling & product design software mostly used by CAD designers, product designers, industrial designers & tech professionals.
Since I have been using this software for about Six (6) years now I am very much comfortable using this software to create working 3D models & designs, ready for 3D printing, CNC machining, or laser cutting.
In this post, I’ll give a simplified summary.
This won’t be a step-by-step guide, but hopefully, it will shed a bit of light on the process.
Click on the Below link to interact with the 3D model.
Here are the steps & requirements to get started:
Step 1: Taking Reference Photos and Measurements
The First step is to take good and high-quality reference photos.
There are two things to keep in mind when trying to shoot good reference photos:
- Long focal length: It’s important to use a lens that has a long focal length. Otherwise, the photo will be skewed by a perspective that makes things closer to the camera appear to be much larger. This kind of photo is not ideal to model against.
- Varying views: Usually front, back, left side, right side, and bottom are sufficient to create an accurate model.
These photos are then imported into the Fusion 360 as a Canvas for reference when we build the model.
The goal here is accuracy. The Photos must reflect the accurate proportions of the products.
Step 2: Modeling
After we have our measurements and canvas images set up, we start with a design sketch and add detail until we have an accurate representation of the product.
It’s also important to remember that capture design history is active.
Also, try to minimize the commands as much as possible to simplify the model and keep all sketches completely constrained.

Step 3: Appearance and Rendering
Apply necessary and correct material appearances to the 3D model for its visualization to show all the features of the product and also to feel the real lifelike visual experience.

Then we can create a high-quality rendered image of our 3D model using cloud rendering technology or local rendering technology.
While we found a good workflow for creating high-quality 3D models of products, the next step is to prepare it for manufacturing using different technologies like 3D printing, CNC machining, Laser cutting, or some different manufacturing process.
The challenge is to model in such a way as to minimize the cost and ease of manufacturing.
If you would like to learn Fusion 360 for 3D printing check out our course on ” Design for 3D printing using Autodesk Fusion 360“